How to Create and Manage Twitch Clips
If something exciting, funny, or just plain silly happens on Twitch, you don't have to let it fade away. Twitch clips are short highlights which anyone can make and share with others to preserve those one-of-a-kind moments you only get from a live stream.
Let's explore how to make a Twitch clip and how to manage them afterward.
How to Clip on Twitch for Desktop
There's always something happening on Twitch, and you'll often come across moments you want to share with others. If you're on your PC and you see something memorable happen, you can create a highlight via one of two ways.

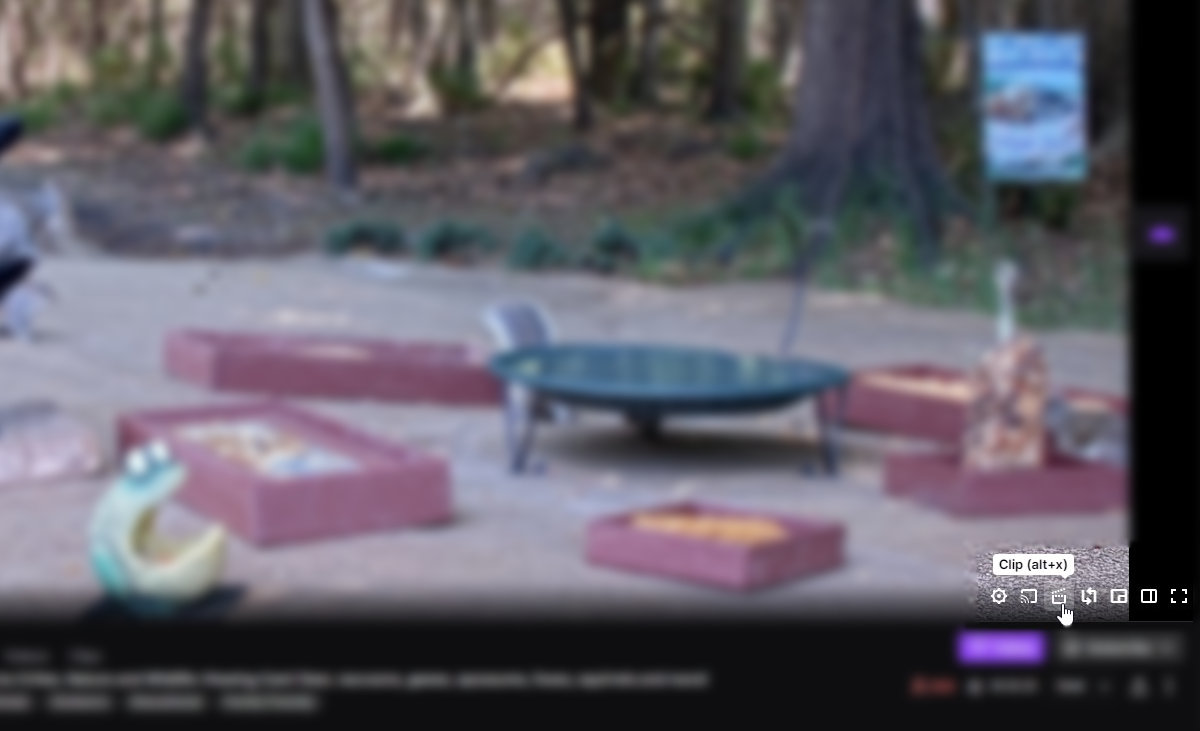
First, you can hover your mouse over the video player. When you do, a few options will appear at the bottom right. Click the one that looks like a clapperboard.
Alternatively, you can press Alt + X and Twitch will clip the moment without needing to click on anything.
Once you've grabbed a clip, you'll need to do a little video editing before you can post it online. However, don't worry; it's not too complicated.

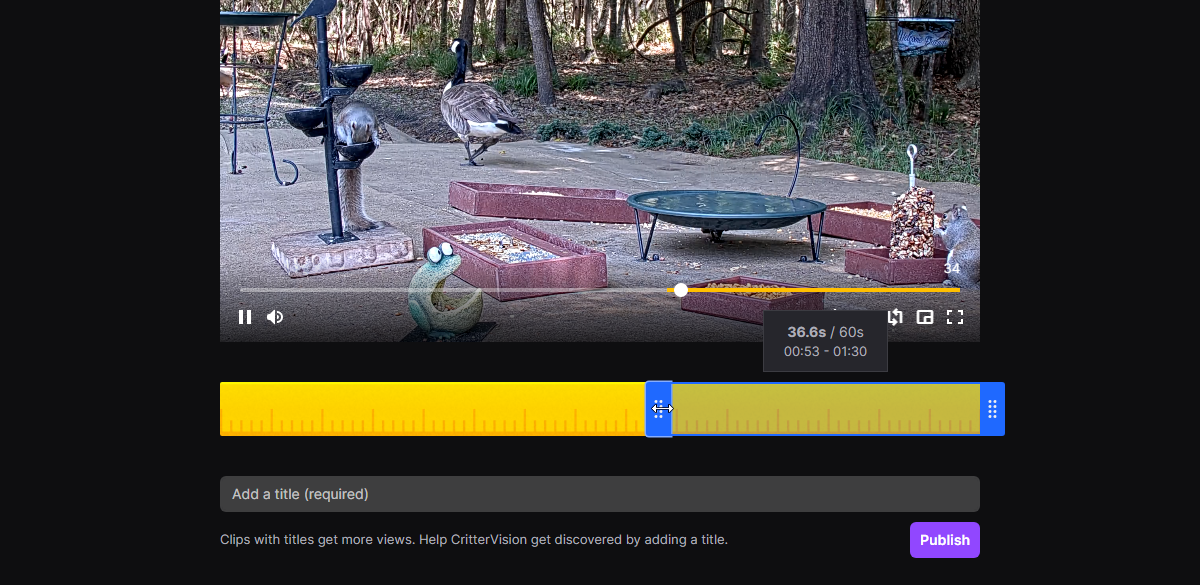
You'll see a track below the section that you just clipped. Move the blue bar along the yellow timeline until it covers the part you want to clip. Then, drag the start and the end of the blue bar to better tweak when it starts and stops. Once you're done, give the clip a name and click Publish.
How to Clip on the Twitch App
If you're on mobile, you can clip something by tapping on the video feed, then tapping on the clapperboard icon.
Once you've clipped a moment, the app will show you a preview of what you've snagged. If the preview looks good, you can publish it right away; otherwise, you can opt to edit it and tune it a little better.
If you choose to edit it further, tap the text that says Edit and wait for the clip to load. Then tap Trim Clip and adjust the section you want to clip using the yellow bar. Tap Done at the top right when you're happy.
Finally, give the clip a name and tap Publish at the top right to put it online.
How to Share a Twitch Clip
When you create a Twitch clip, Twitch will give you a unique link that leads to your clip. You can then copy and paste that clip wherever you want to show off the moment you captured. Be careful sharing it in the streamer's chat, as they may have an automatic moderator set up to timeout people posting links.
Your clip will also appear in the streamer's clip library, which can be found at twitch.tv/<STREAMER'S USERNAME>/clips. This lets everyone take a look at your clip, so don't worry if your clip suddenly gets popular without any effort from you.
You should also consider sharing your Twitch clips where you think people will like it, even if they haven't seen the streamer before. Each Twitch clip has a clickable link for the streamer's channel, so it can be a great way to introduce people to a stream and build viewership.
How to Manage Your Twitch Clips
Once you've built up an impressive library of clips, you may want to revisit some memories you've created. To do this, head over to the Twitch Clips Manager to see all of your clips, grab links for sharing, or delete ones you no longer want.
How to Get More Out of Twitch
There's always a stream to watch on Twitch, and with it comes unique and funny moments which you'll want to share with others. Now you know how to do it both on a web browser and on the mobile app.
If you've been around Twitch for a while, you'll know that emotes are a highly prized commodity amongst viewers. Fortunately, there are ways to get plenty more, from subscribing to more channels to downloading add-ons.
Image Credit: PixieMe/Shutterstock.com
source https://www.makeuseof.com/how-to-create-manage-twitch-clips/
Post a Comment for "How to Create and Manage Twitch Clips"
Comment when there are difficulties