How to Do a Three-Point Edit in Premiere Pro
Ready to do it like the pros? Advanced video editing techniques have nothing to do with special equipment or costly software. Getting down to the basics and improving your workflow in Premiere Pro is all about streamlining the process.
To the beginner, shaving off half of a second when making a basic edit in Premiere Pro sounds silly. But when you multiply the time saved in this way over thousands of cuts and splices over the course of a feature-length project, you'll be surprised at how much better off you'll be in the long run.
So, what is a three-point edit? Let's get started.
What Is Three-Point Editing?
As an editor, you've got a few things in front of you, no matter what type of project you happen to be working on:
- A collection of source footage
- A bin that contains this footage once imported
- A source monitor that allows you to view the footage
- A timeline acting as a destination for your footage
Dragging footage into the timeline randomly, especially without a designated stringout timeline to organize everything in, will likely cause you more problems than it solves.
This is where in and out points come into the picture—but what are in and out points?
An in point is a cue that you give the program. It designates the beginning of a clip or sequence as it serves your interest and intent. An out point does the same, but for the back end of the segment that you wish to isolate.
For our purposes, this will be a piece of footage in our bin. We use these two points to bracket something called a select. In other words, it's the part of the raw footage that we would like to include in the final project.
That's two points. Where does the third come into play? These first two points bracket the select; the third will be added to the timeline. This third point tells the program where the select will either begin or end—you can do it either way.
How to Make a Three-Point Edit
Once you have your project set up with footage and a new sequence, cue up your first shot from the bin. To do this, double-click on the thumbnail so it appears in the source monitor.
Next, after making the source monitor your active window by clicking it once, drag the Playhead to where you would like the clip to begin.
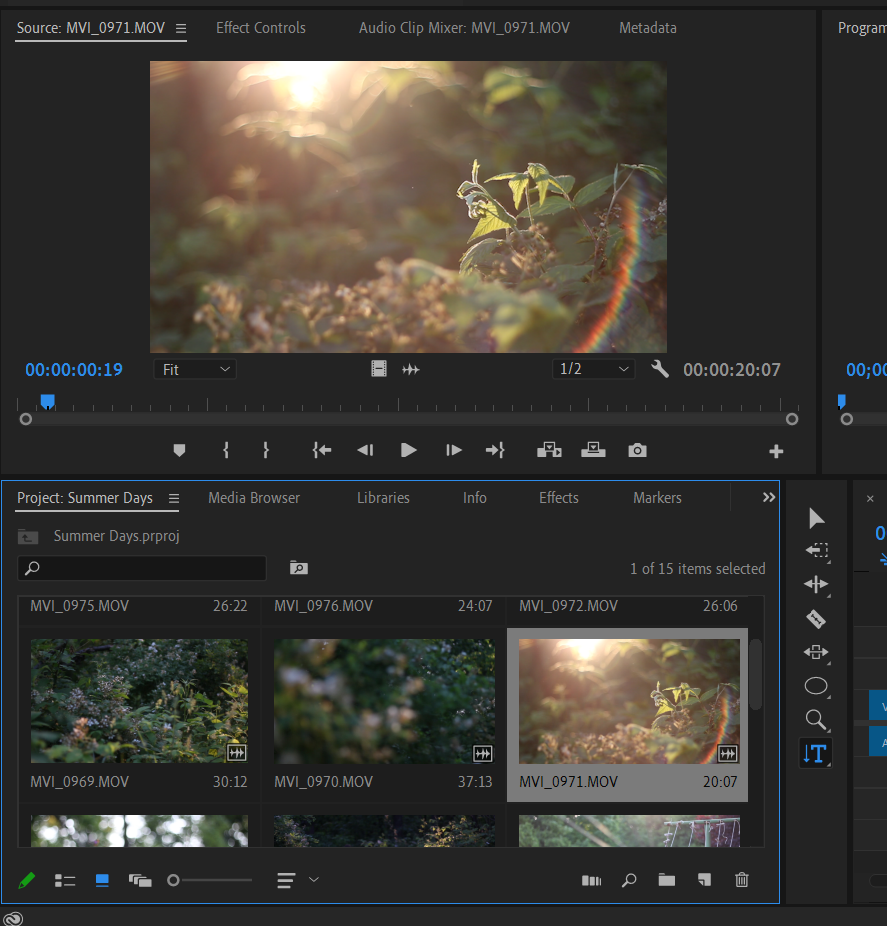
You can set your in-point either by using the Mark In button or by hitting the I key.
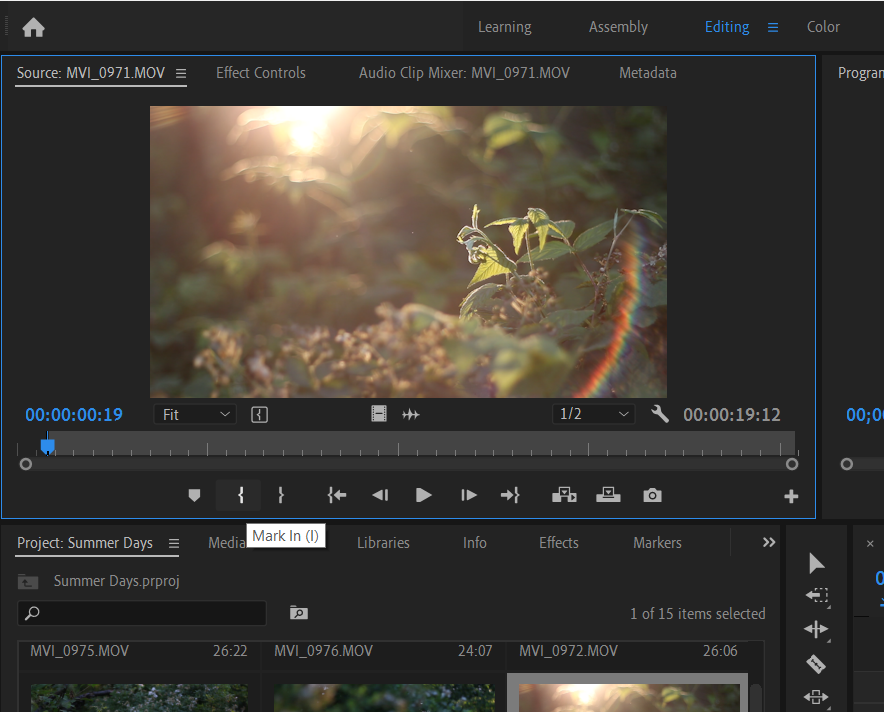
Now, do the same for the end of the clip. It's the same deal—you can click on the Mark Out button, or simply use the O key as a shortcut.
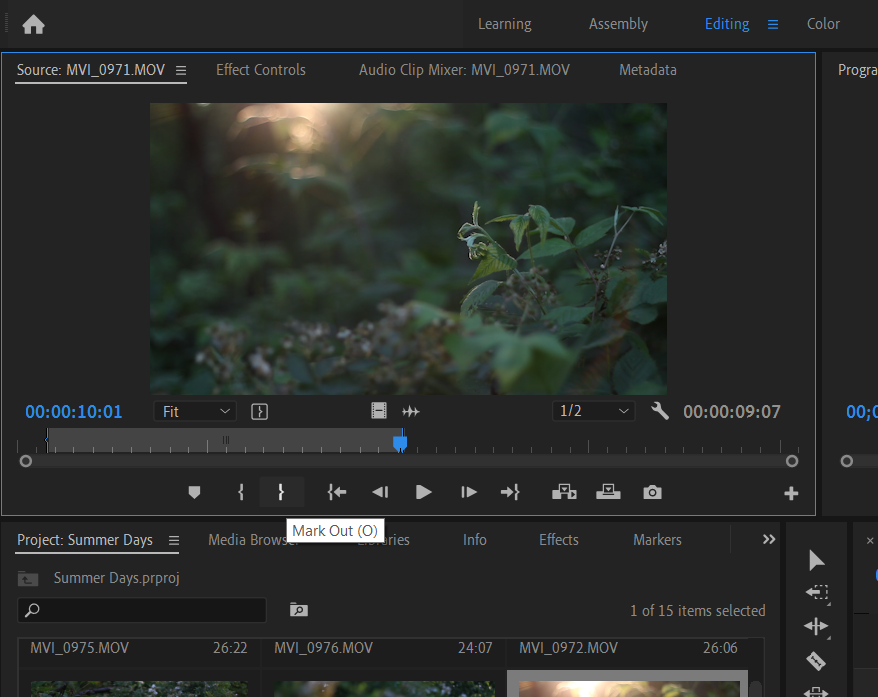
Finally, after deciding where you would like your clip to go, create your third point in the sequence of your choosing. Simply use the same Mark In and Mark Out buttons, or the aforementioned keyboard shortcuts.
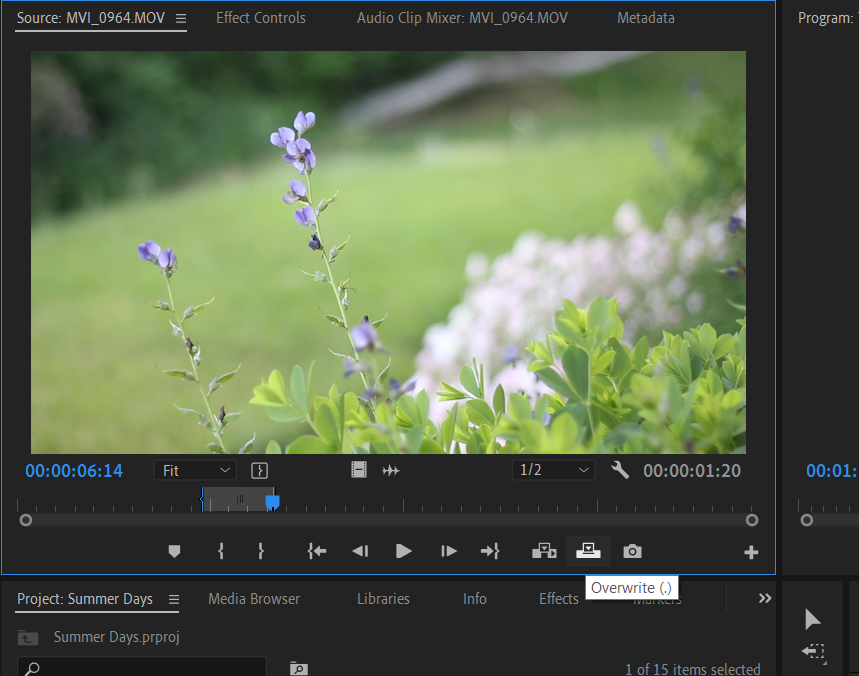
How do we connect the source footage with our desired destination? You have two options: an Insert command, or an Overwrite command. Either one will pull the footage in.
What's the Difference Between Inserting and Overwriting?
To illustrate the difference between the Overwrite and Insert functions, we will add a new in point over the clip that we just snatched from the source monitor. Pull up another clip from your bin and find a place for your in and out.
The Insert button shoehorns your clip into the sequence, rippling everything behind to the side, preserving what was there previously. To make an insert edit, press the Insert button or use the comma key (,)
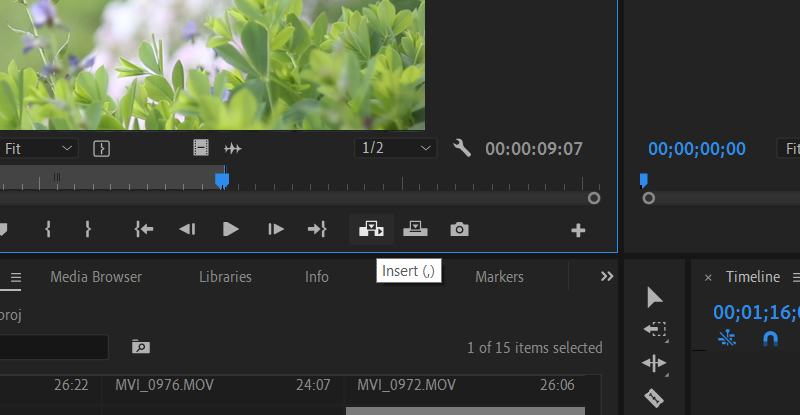
Notice how the overall length of the sequence increases to accommodate the new addition. What if you wanted to preserve the length of the sequence, though?
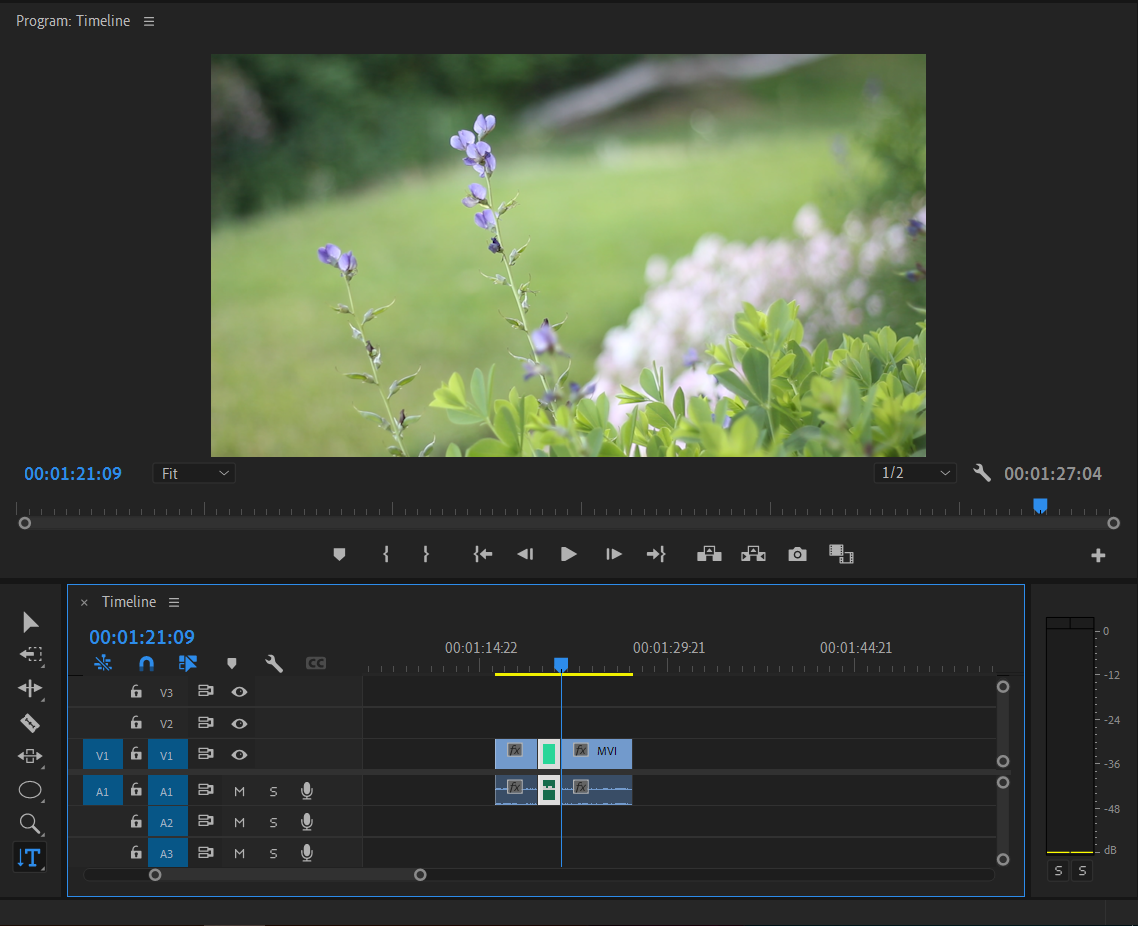
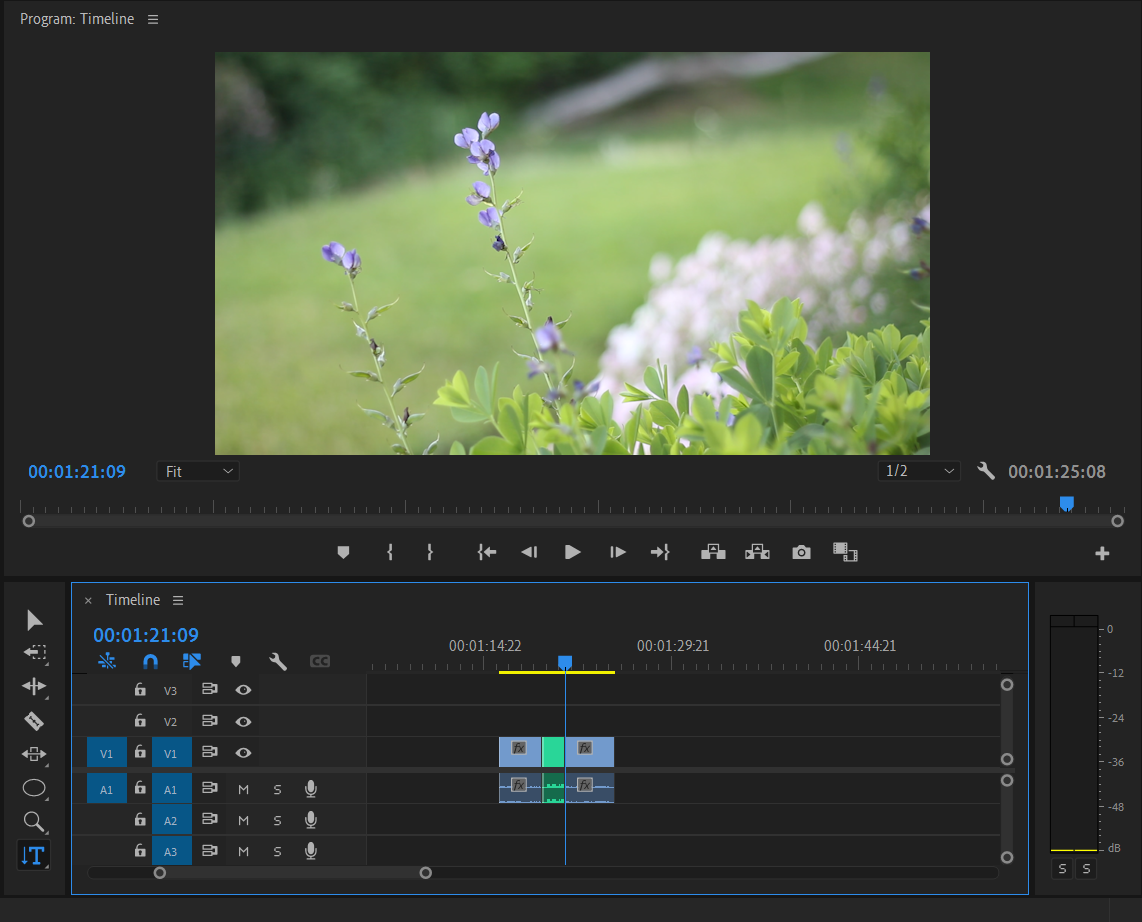
Using the Overwrite tool does just this—it's perfect if you're working on a 30-second ad or some other project with a clearly defined TRT (total running time). Hit the Overwrite button or the period key (.) key on your keyboard.
Now it's ready for editorial review. Once you have the Premiere Pro shortcuts memorized, editing in this way will shave hours off of your turnaround time.
Save Time With Three-Point Edits
Part of developing a professional mindset involves knowing the value of time. Whether editing professionally or just for fun, the fact of the matter stands: the faster you are, the more time you have to get things done.
source https://www.makeuseof.com/how-to-three-point-edit-premiere-pro/
Post a Comment for "How to Do a Three-Point Edit in Premiere Pro"
Comment when there are difficulties