How to Create Realistic Sun Effects Using Luminar AI
With AI technology on a meteoritic rise, photo editing programs with sky replacement features are only growing in popularity. But one of the problems that we're seeing from this trend is one of disbelief: most viewers can tell when a sky is fake, or at the very least, grossly over-edited and unrealistic.
In this tutorial, we will take a look at a few techniques to render realistic-looking skies and suns using Luminar AI as a plugin for Photoshop. The goal is to create an image that is both beautiful and able to fly underneath the radars of more skeptical viewers.
Where to Get Photoshop and Luminar AI
Photoshop can be purchased as part of the Creative Cloud subscription from the Adobe website. The Photography Plan (that includes Photoshop) starts at $9.99 per month. If you're a first-time user, you would be eligible for a free 30-day trial.
Luminar AI can be purchased from the Skylum website. It can be purchased as both a standalone program and a Photoshop plugin, starting from $79.
How to Place a New Sun and Make It Look Realistic
In this example, we will demonstrate how to add a new sun using Luminar AI's Place Sun feature so that it matches the light already present in the scene. The key to it all is determining where the highlights and shadows are falling (i.e., the light and dark areas of an image).
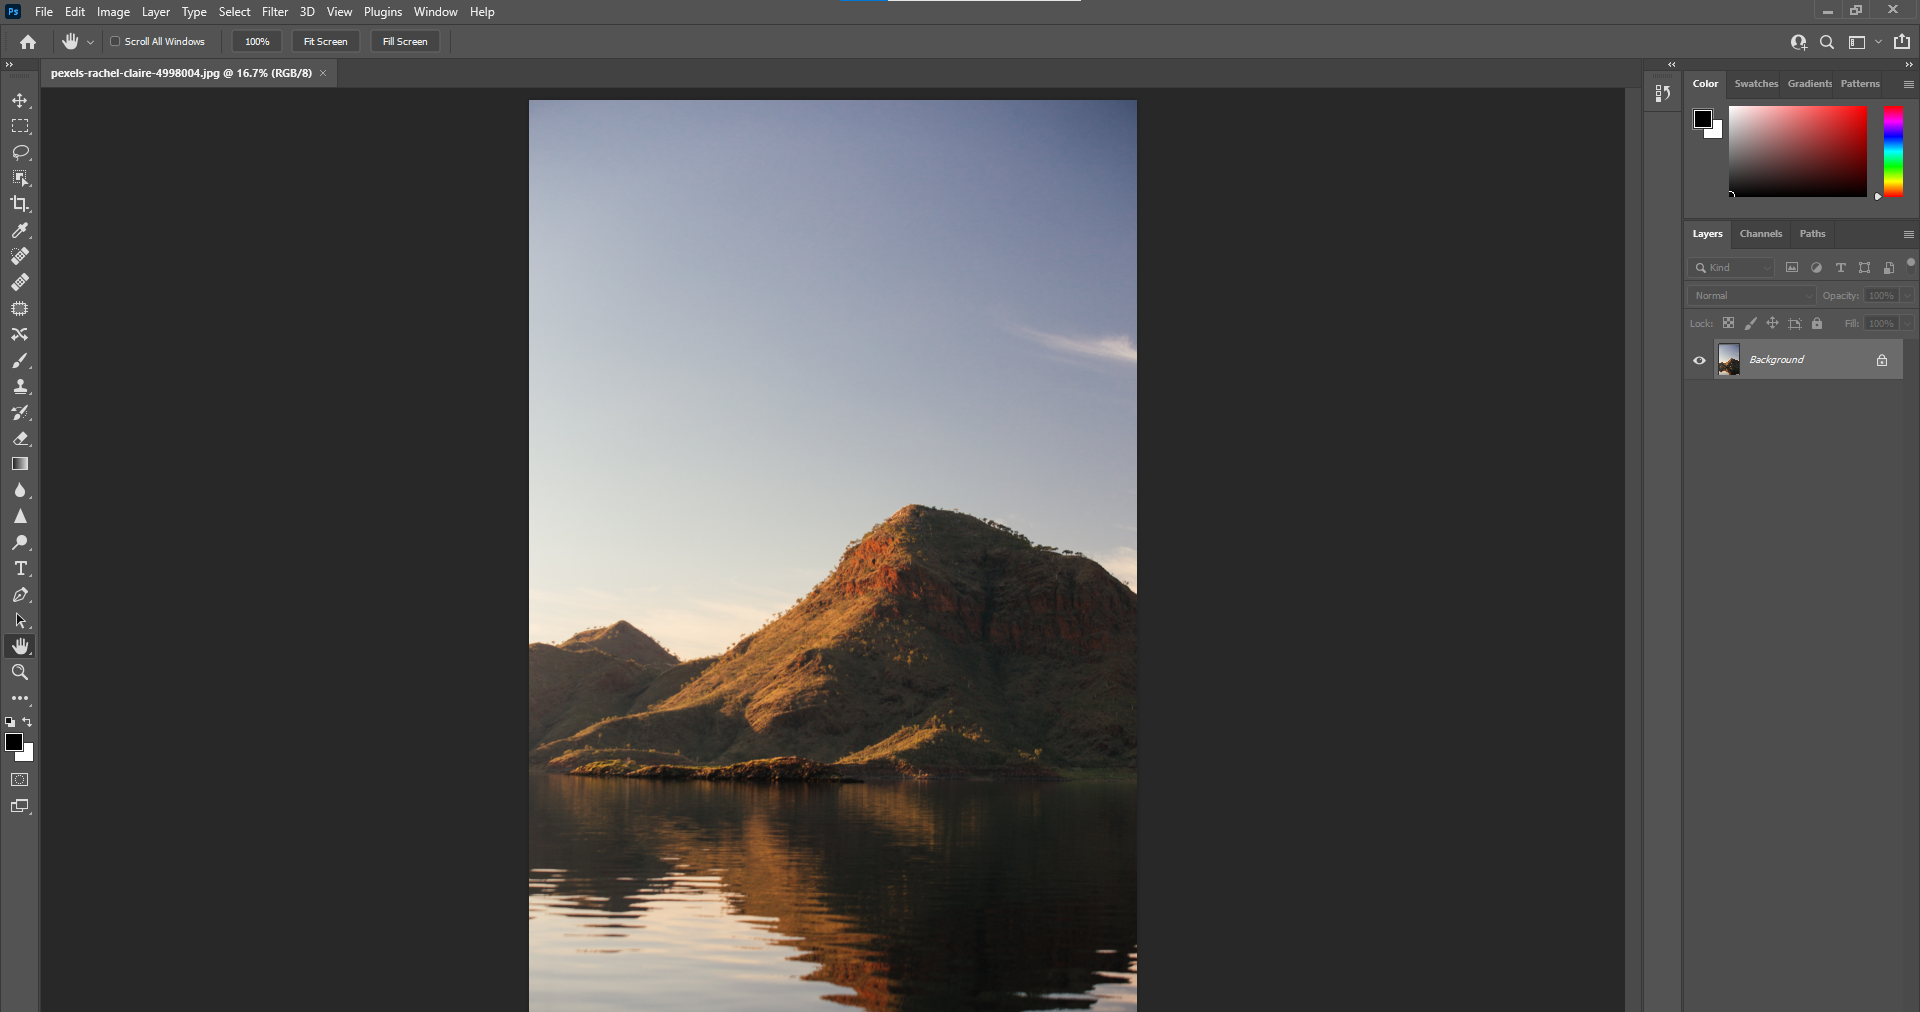
For example, in the below image, the bright areas are on the left side of the hill, while the shadows are clearly falling on the opposite side. The best place to add a sun would then be somewhere on the left, approximately halfway up the image and preferably off-screen. There's nothing wrong with this image as-is, but we could jazz it up a bit by using the Place Sun feature in Luminar AI.
This image is available for download on Pexels.
Without sun:
Sun added in Luminar AI:
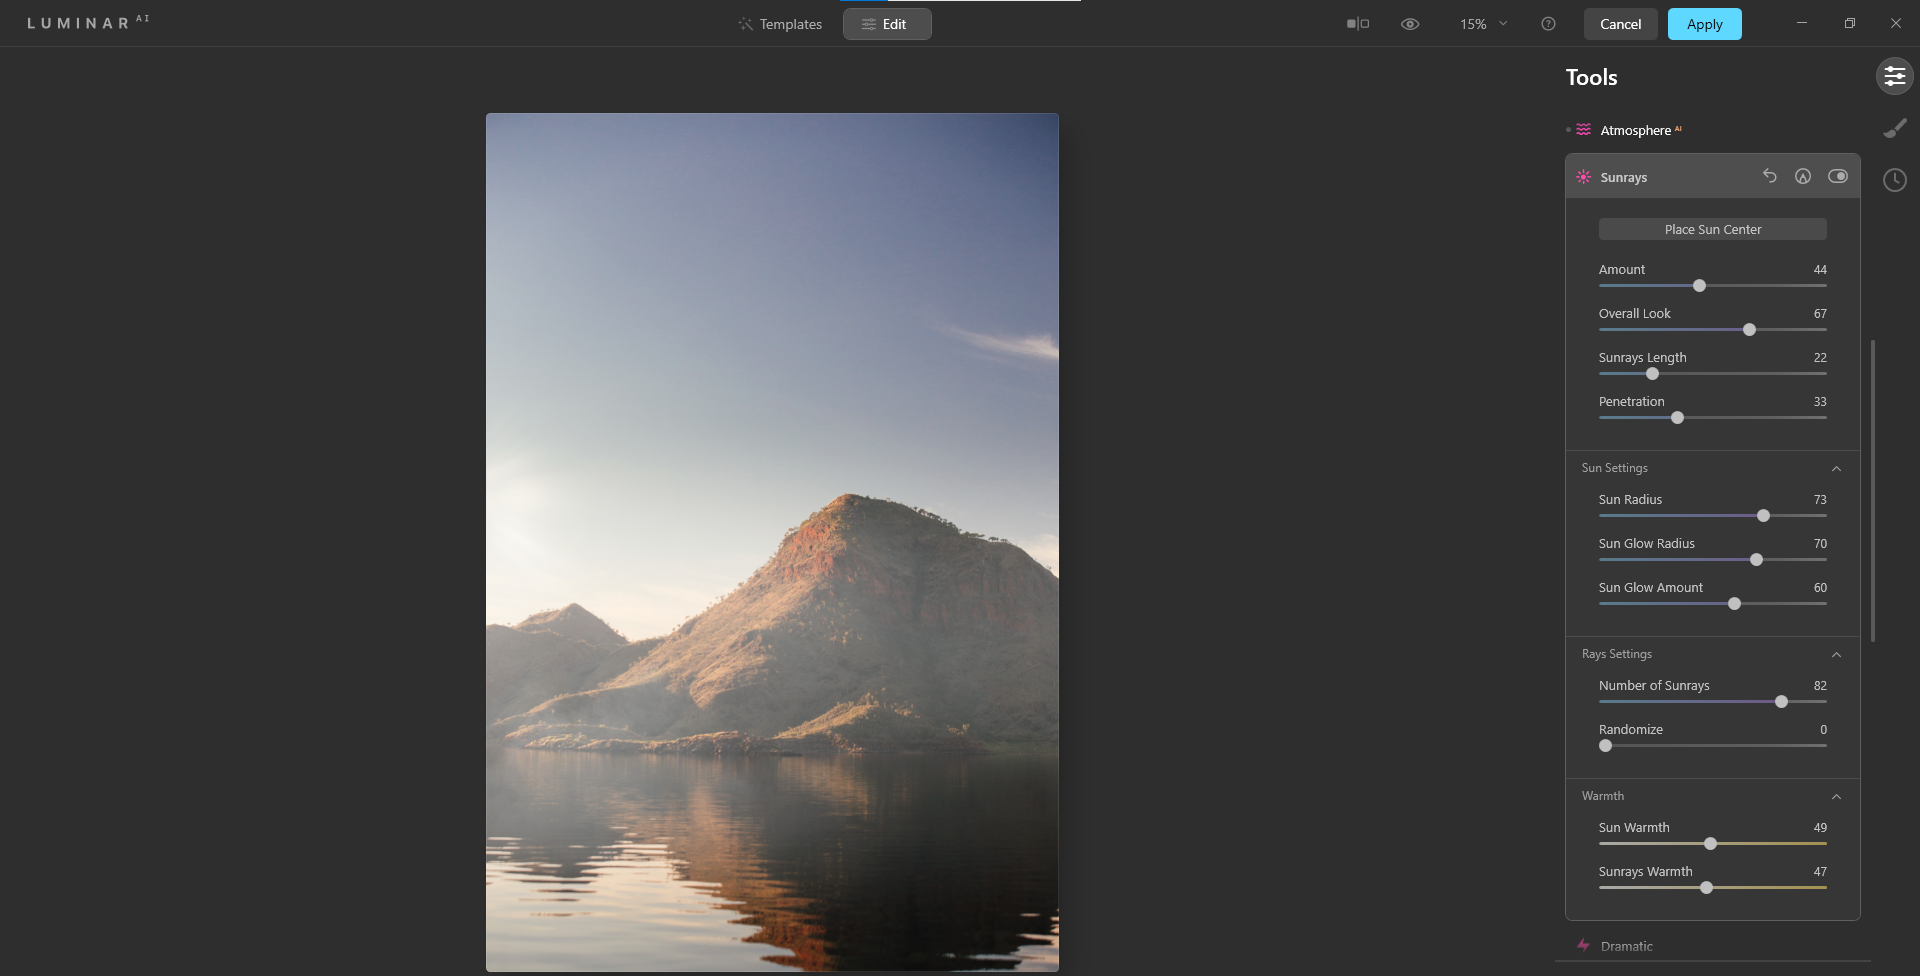
The added sun is only partially seen, but there are a few subtle sunrays and flare visible on the left side of the image. Also, a fog effect was added using Atmosphere AI to make the added sun look realistic. After all, without either physical obstructions or a haze of some kind, sunbeams usually don't occur at all.
We cover how to replace boring skies using Luminar AI, as well as how to use the Place Sun feature in a different tutorial. For the purpose of this tutorial, we will only discuss sky replacement best practices.
Placing a New Sun in an Image With Flat Light
Flat light usually refers to a scene where the light is evenly dispersed, or where there's no obvious source for the ambient light. Shadows will be subtle or not easily detected. If we're to add a new sun into a landscape image with flat light, then we'll have to create the highlights and shadows in order to make it look realistic.
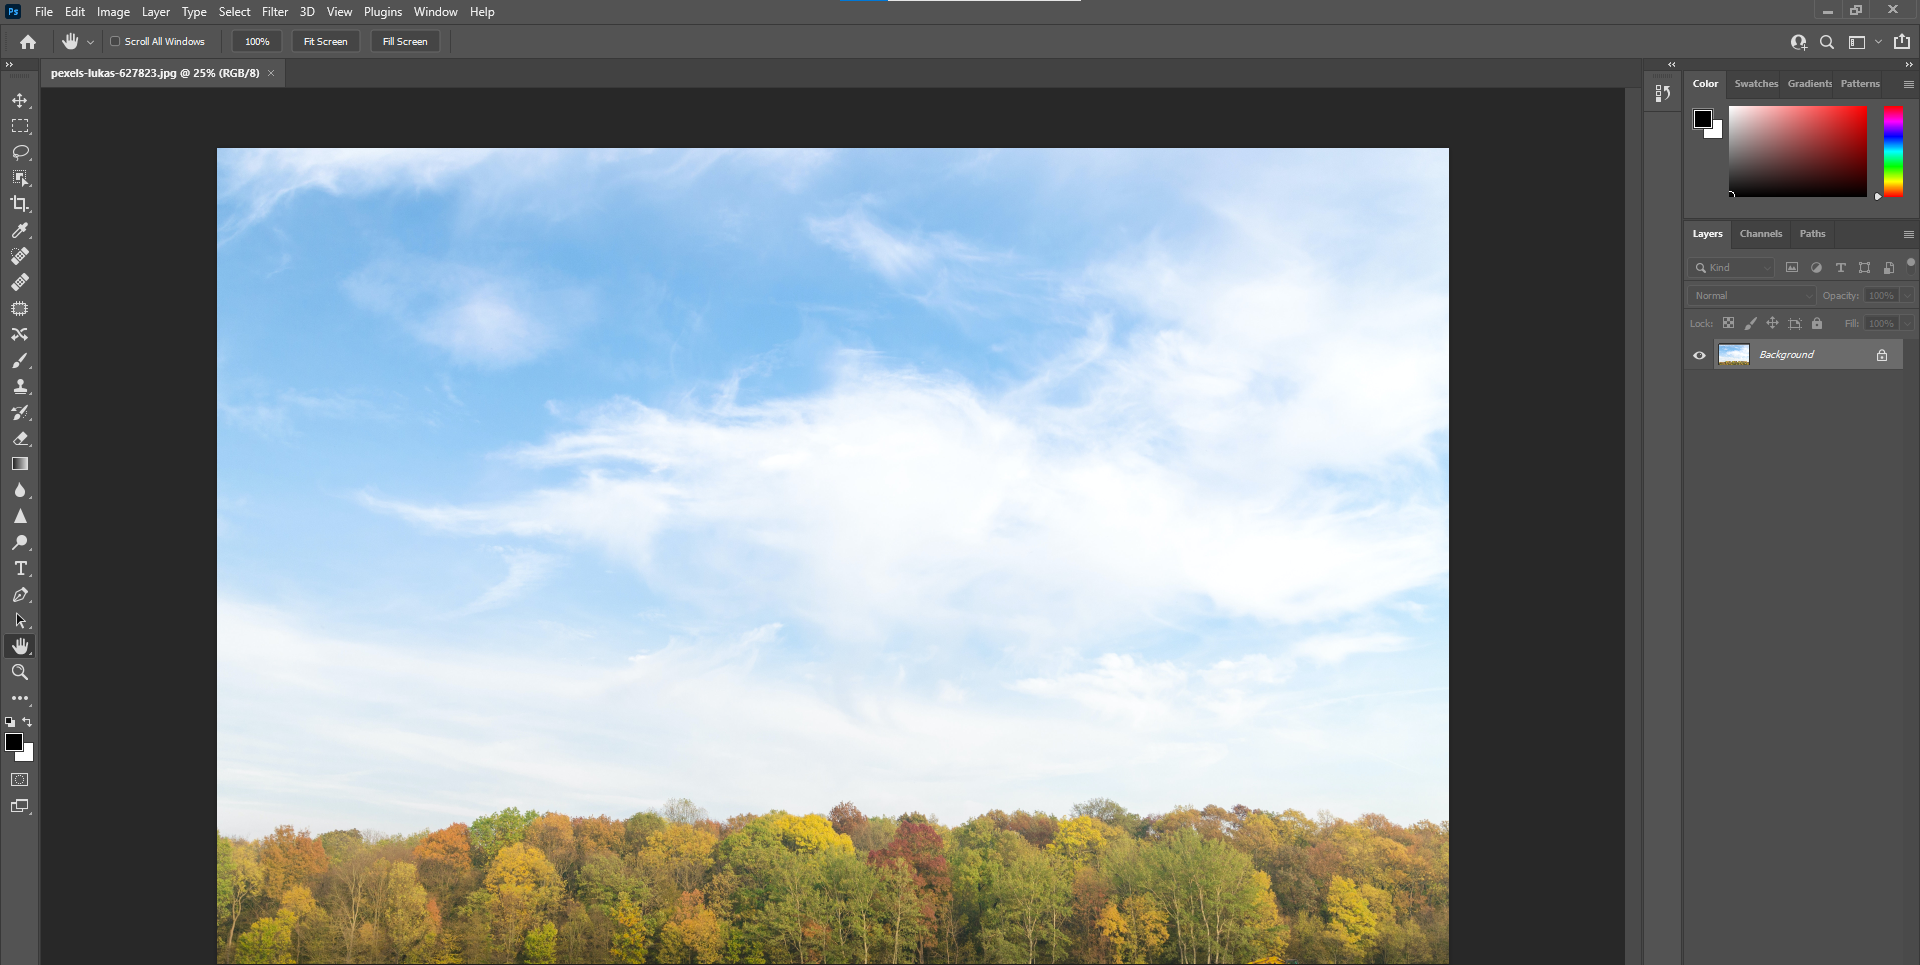
In the below image, it's not readily obvious as to which direction the sun is coming from. For scenes like this, you may opt to place a sun just about anywhere in the image.
You can download this image from Pexels if you'd like to follow along.
Using Luminar AI, let's place the sun in the upper-right corner of the image, making it fully visible.
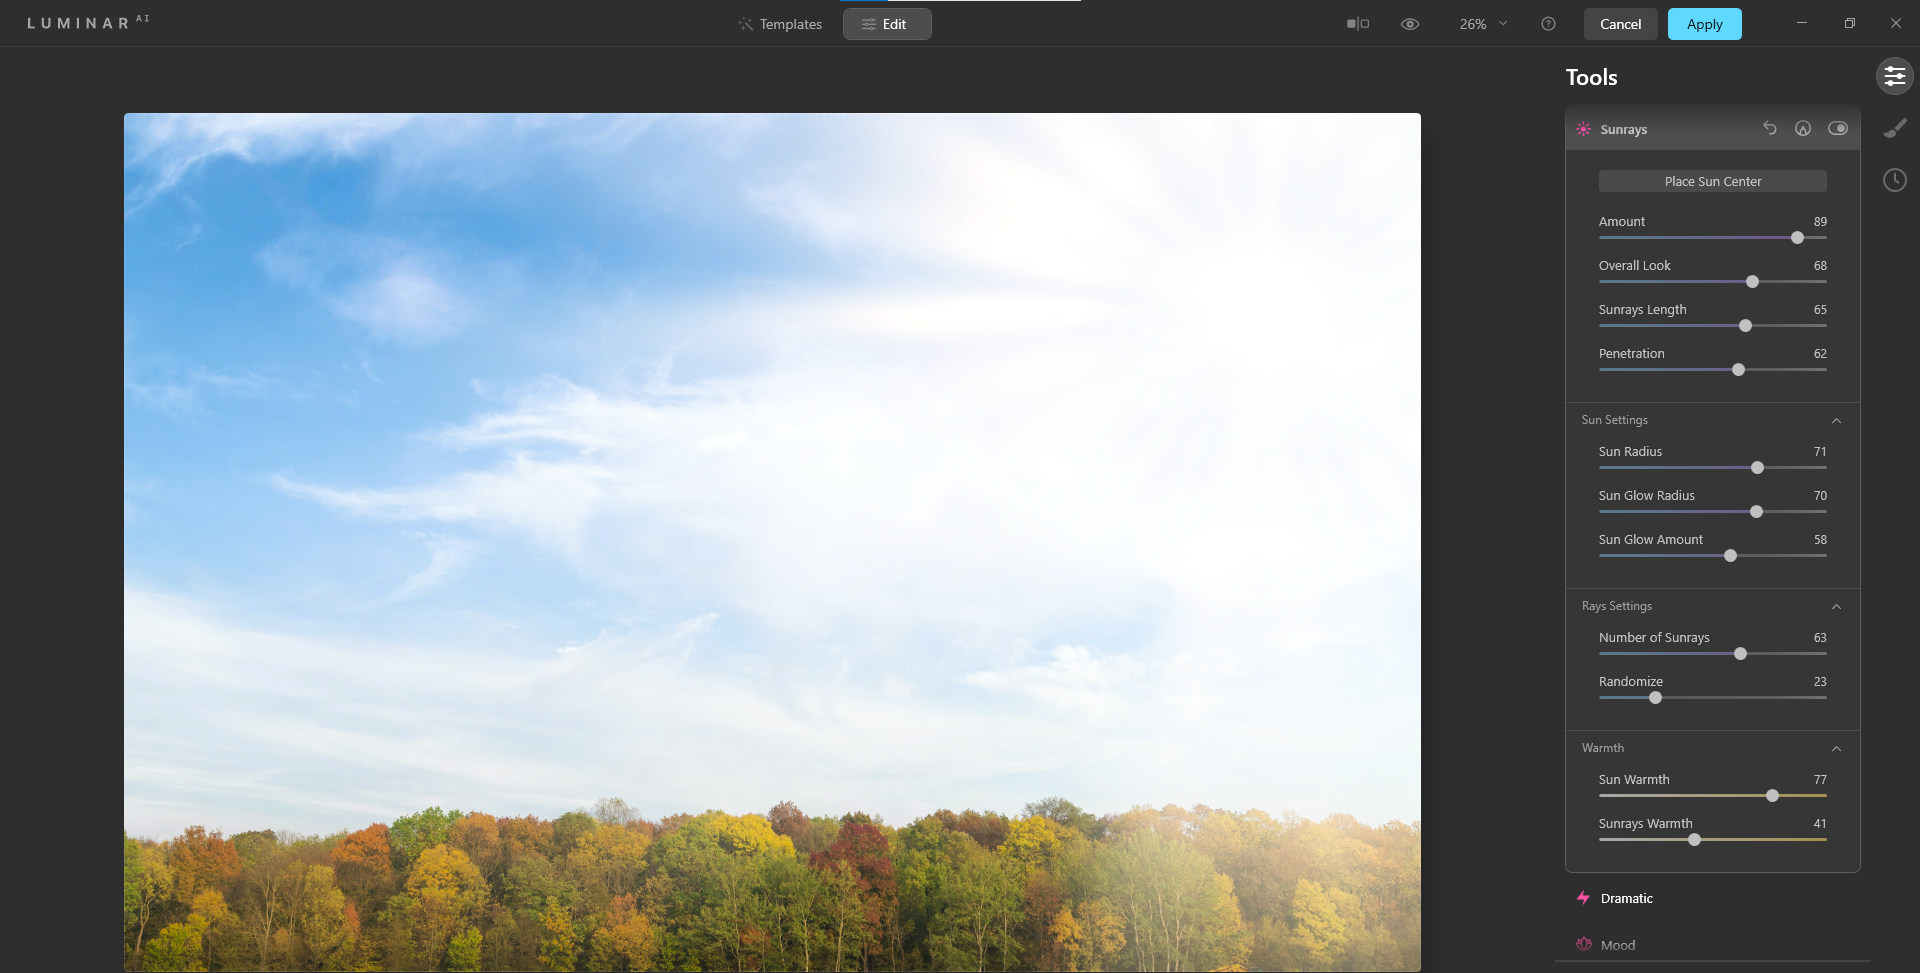
But despite placing the sun in the corner, the sun itself isn't fully visible, and its diameter is largely implied by the sunbeams. This is because Luminar AI's artificial intelligence was able to detect cloud cover. It placed the sun directly behind the clouds, effectively dispersing the light, as seen in the trees in the right corner.
Look at what happens when we simply move the sun over to the opposite side where there are fewer clouds. Without changing any of the settings, the sun is much more visible, and Luminar AI determined that the sun should be able to shine through. On the downside, it also looks highly unrealistic and is a tell-tale sign of being a fake.
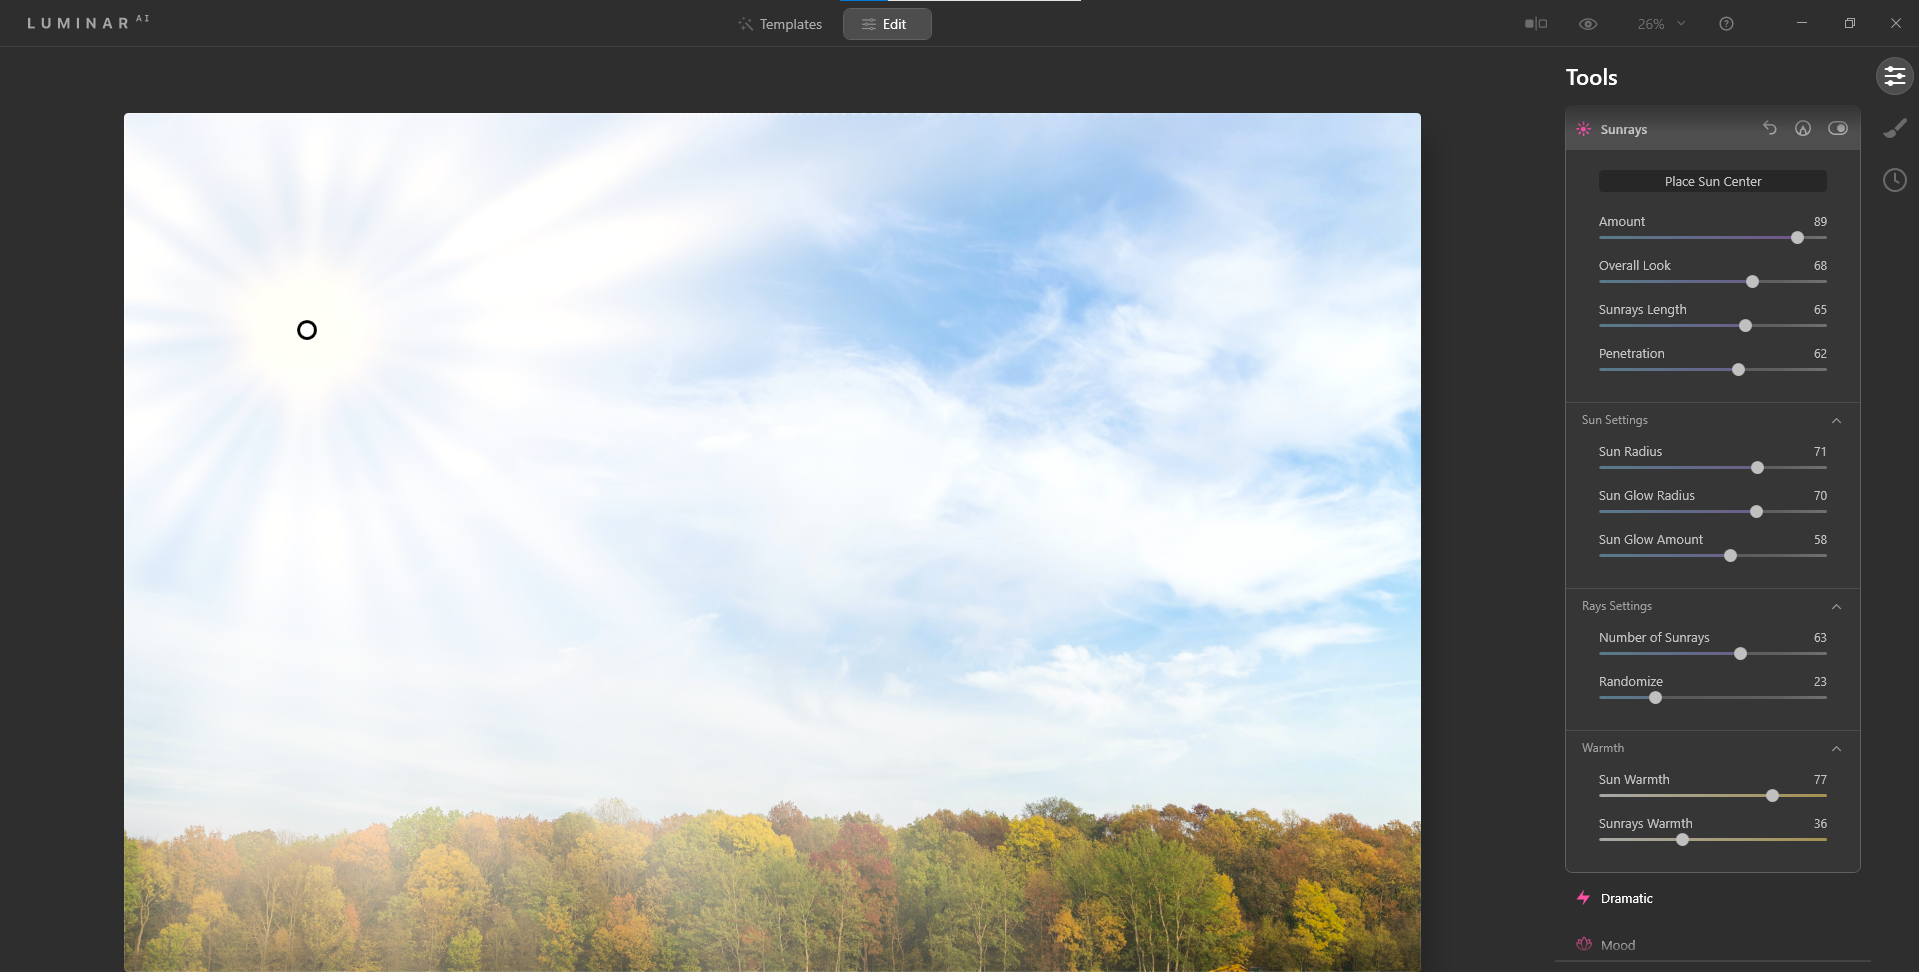
If you reduce most of the sliders in the Sunrays menu, you can get a more realistic-looking sun with a little help from the Mood panel (Seattle) further down, which effectively changed the overall color.
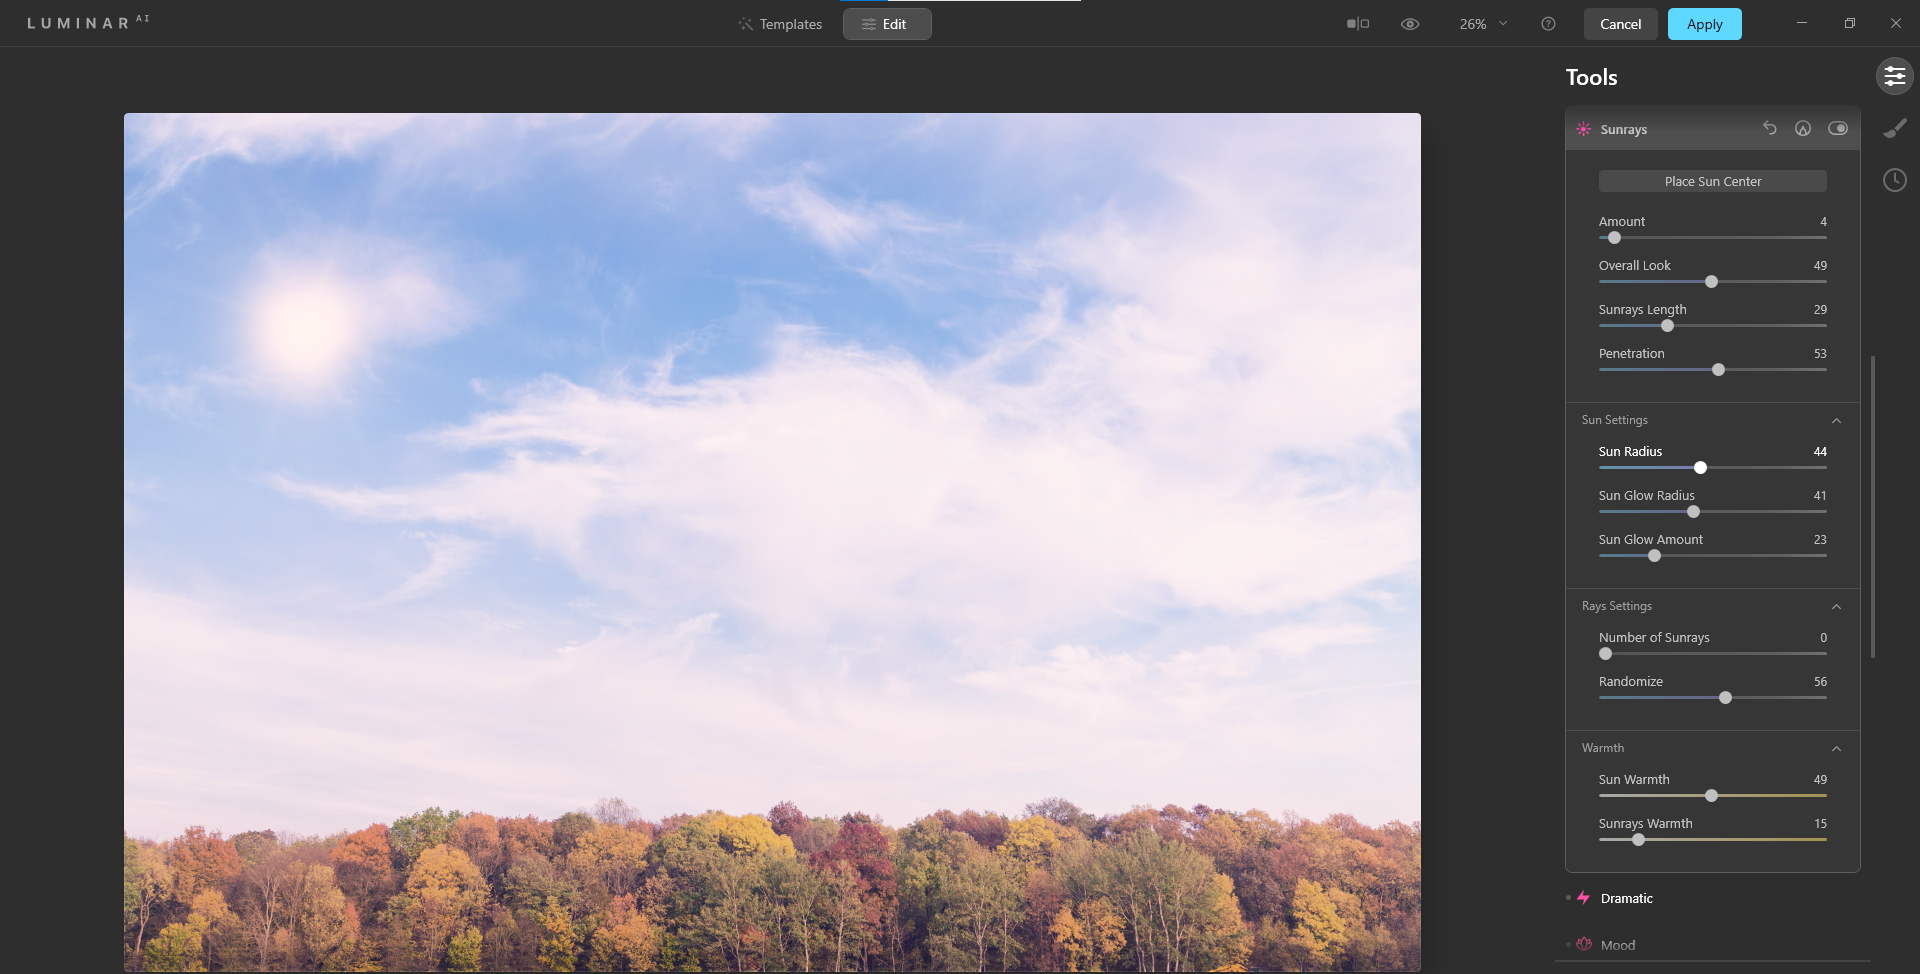
This is important. Whenever you're adding a sun to an image—not only doing sky replacement—you're going to have to make light and color adjustments to the rest of the image. If you don't, it will likely look like a fake sun.
Luminar AI Light and Color Options for Adding a Sun
Luminar AI has a few powerful options for re-coloring and re-lighting your image after you've added a new sun. Fortunately, it's not always necessary to have another photo editing software. Luminar AI is all you need.
Here are some panels to explore on the right side of Luminar AI, located under Edit: Enhance AI, Light, Color, Landscape, Atmosphere AI, Dramatic, Mood, Toning, Mystical, and Glow. It's recommended to try all of the features when you're first starting out in Luminar AI to get a feel for what they do.
Individually or in tandem with others, these features and their slider sets, will enable you to fix skies to make any new sun look natural. For the sake of time, we will take a look at Light to see how one set of sliders can make a huge difference.
Using the Light Features to Enhance an Image With a New Sun
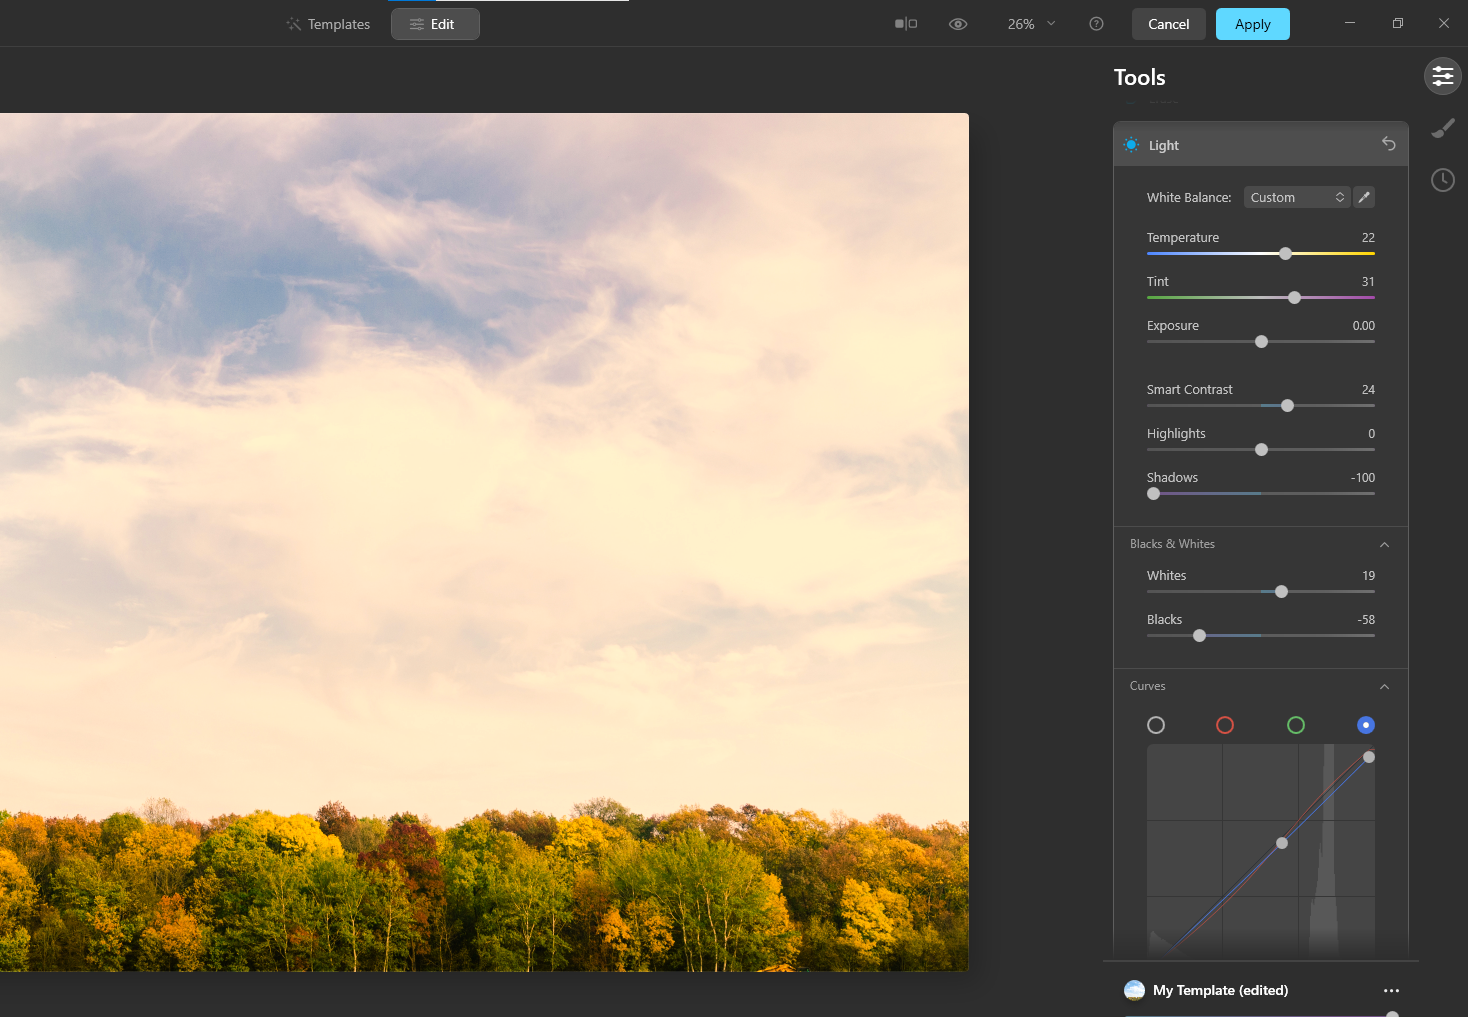
Arguably, the two most important sliders are the first two, Temperature and Tint.
For an image like the above, where the sky was originally a cooler shade of blue, warming up the temperature by pushing the Temperature slider to the right (yellow) is necessary. We exaggerated the colors a little bit here to make the changes more visible. For your own images, you'll want to be more subtle.
Likewise, to make it appear later in the day, maybe close to sunset, the Tint slider could be pushed toward the right (magenta) to give the trees a more rich and saturated color.
While all the sliders are useful, another set of powerful tools are the Curves at the bottom. Here, the overall RGB exposure can be manipulated for contrast, and serve to brighten or darken the image. Also, the red, green, and blue channels can be accessed to create curves affecting colors in the image.

Adding Adjustments in Photoshop to Compliment a New Sun
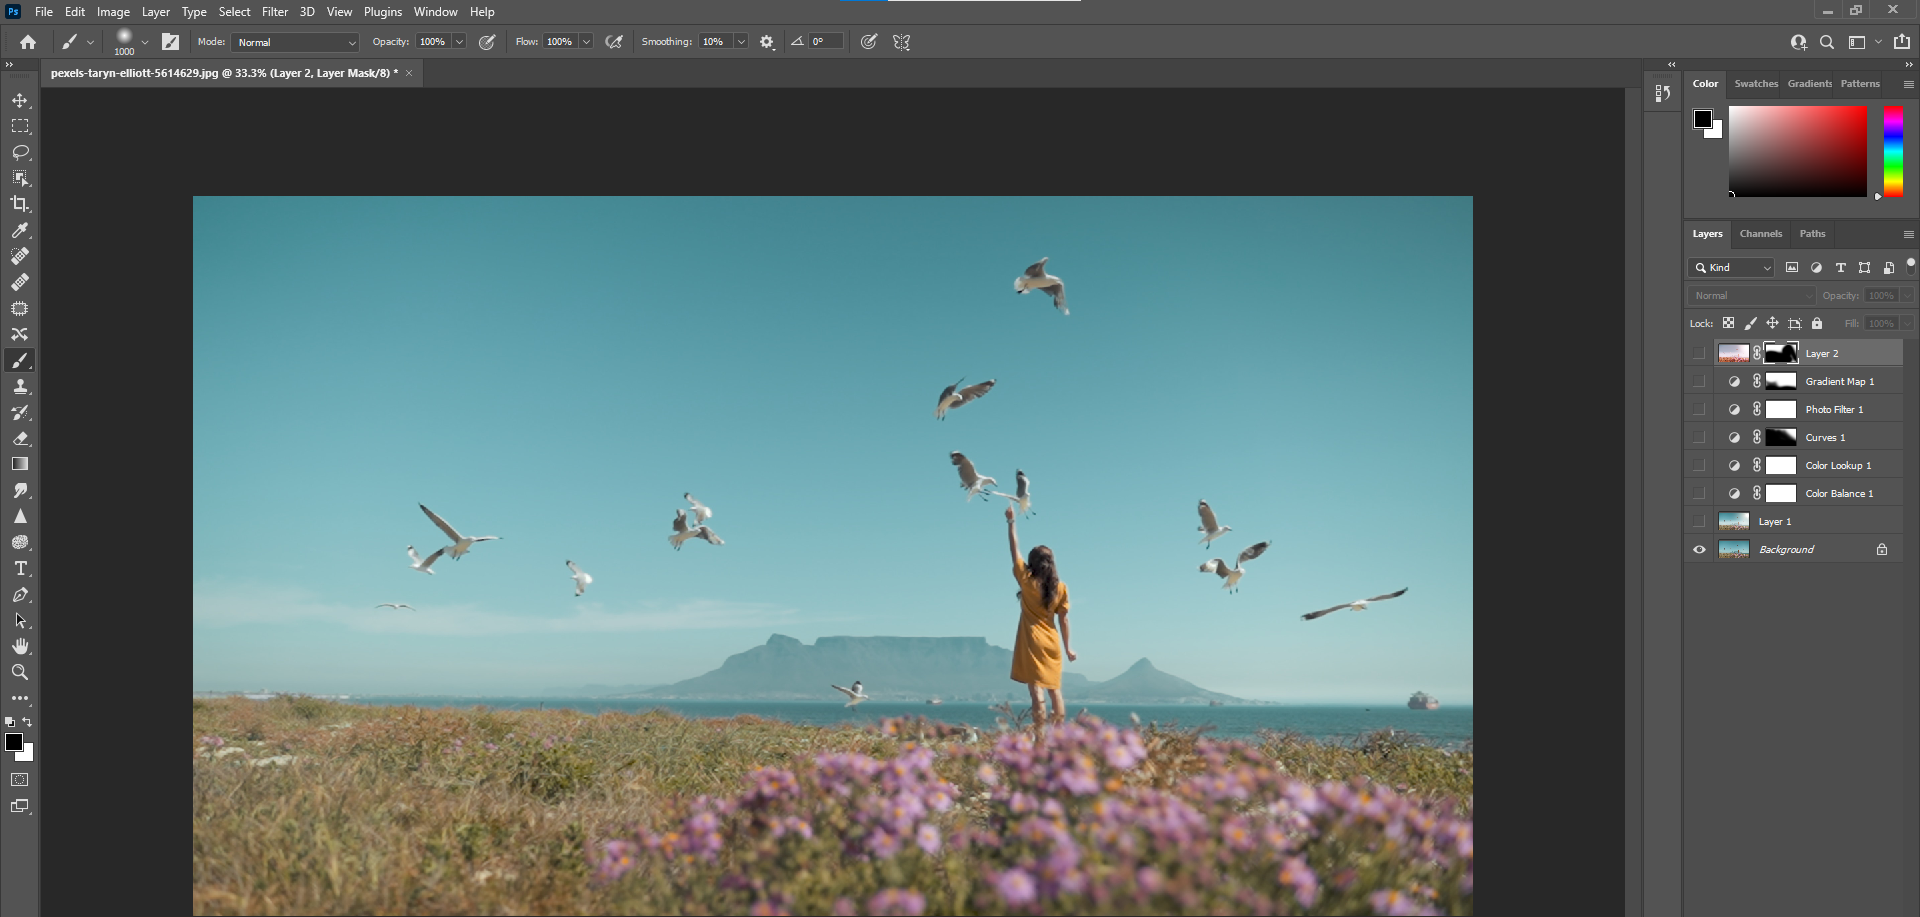
If you're a Photoshop user, a good strategy would be to add the new sun in Luminar AI and only make small adjustments in the other menus. This mindset allows for adjustment layers and other effects to be applied via layers in Photoshop.
Original Image:
Processed in Luminar AI:
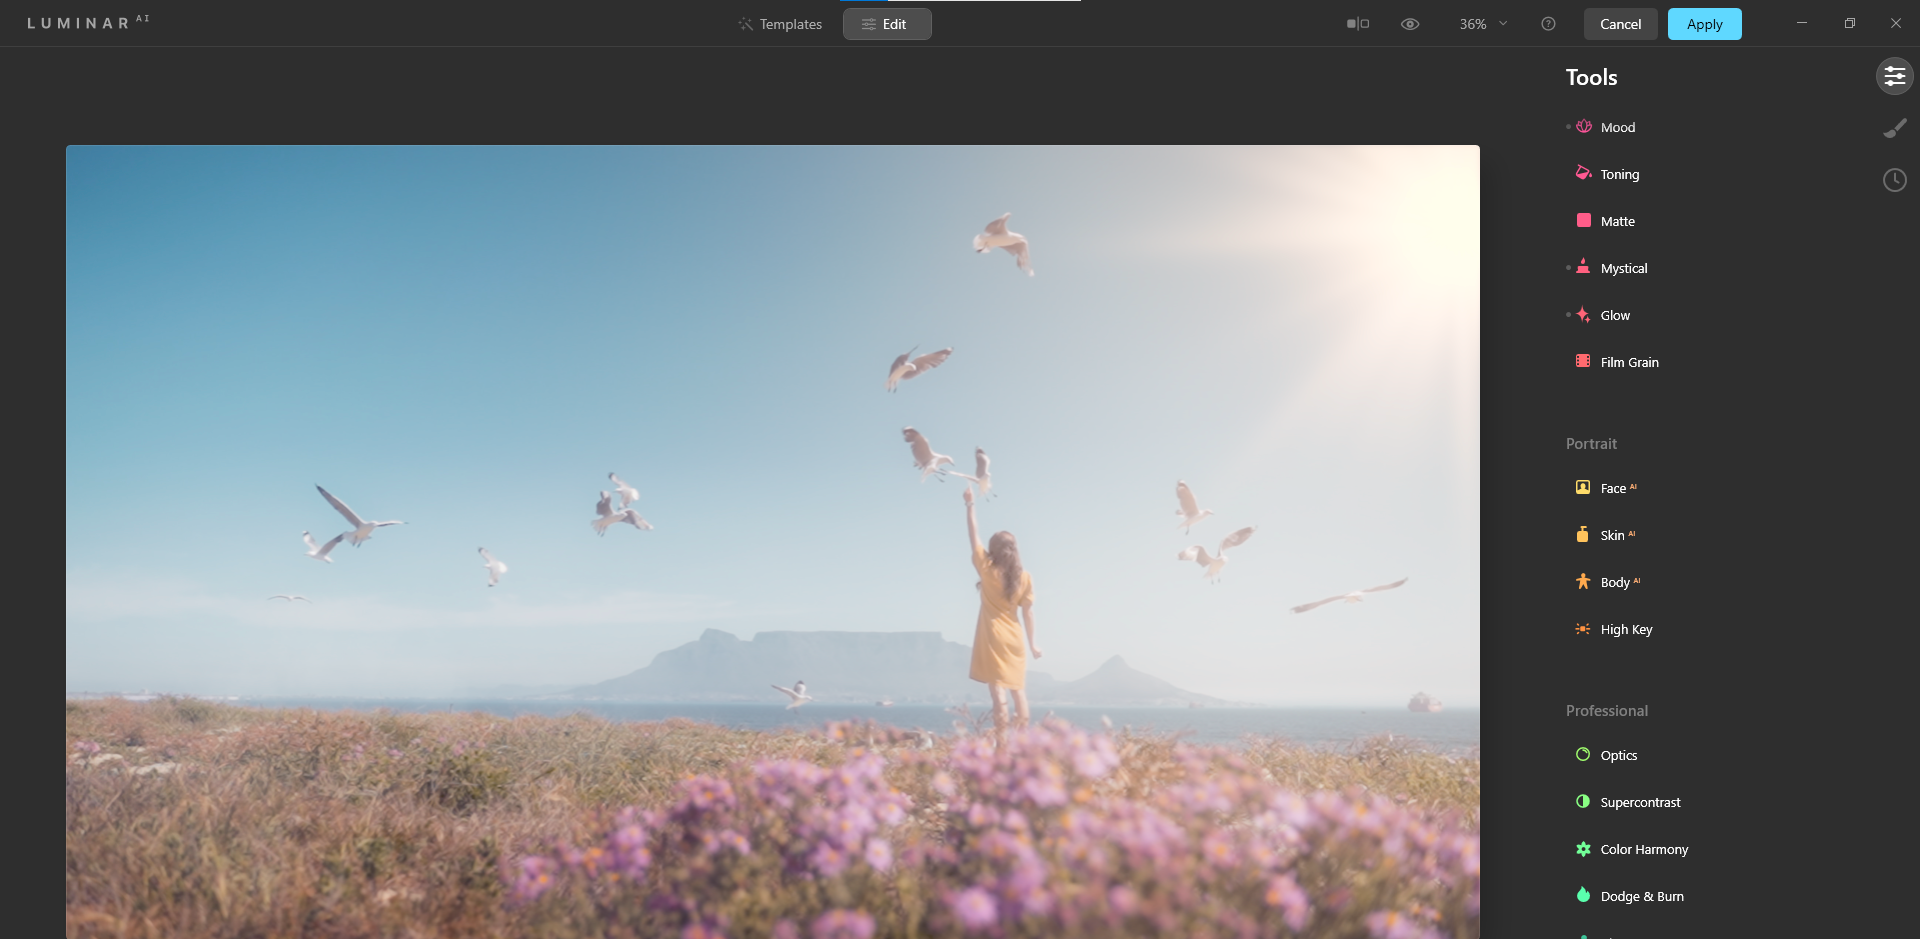
For an image like the above, the sky may require some editing to add warmth by losing some of the cyan. Additionally, the flowers, grass, and even our subject could use color correcting to make the added sun more believable.
Let's see what can be done in Photoshop:
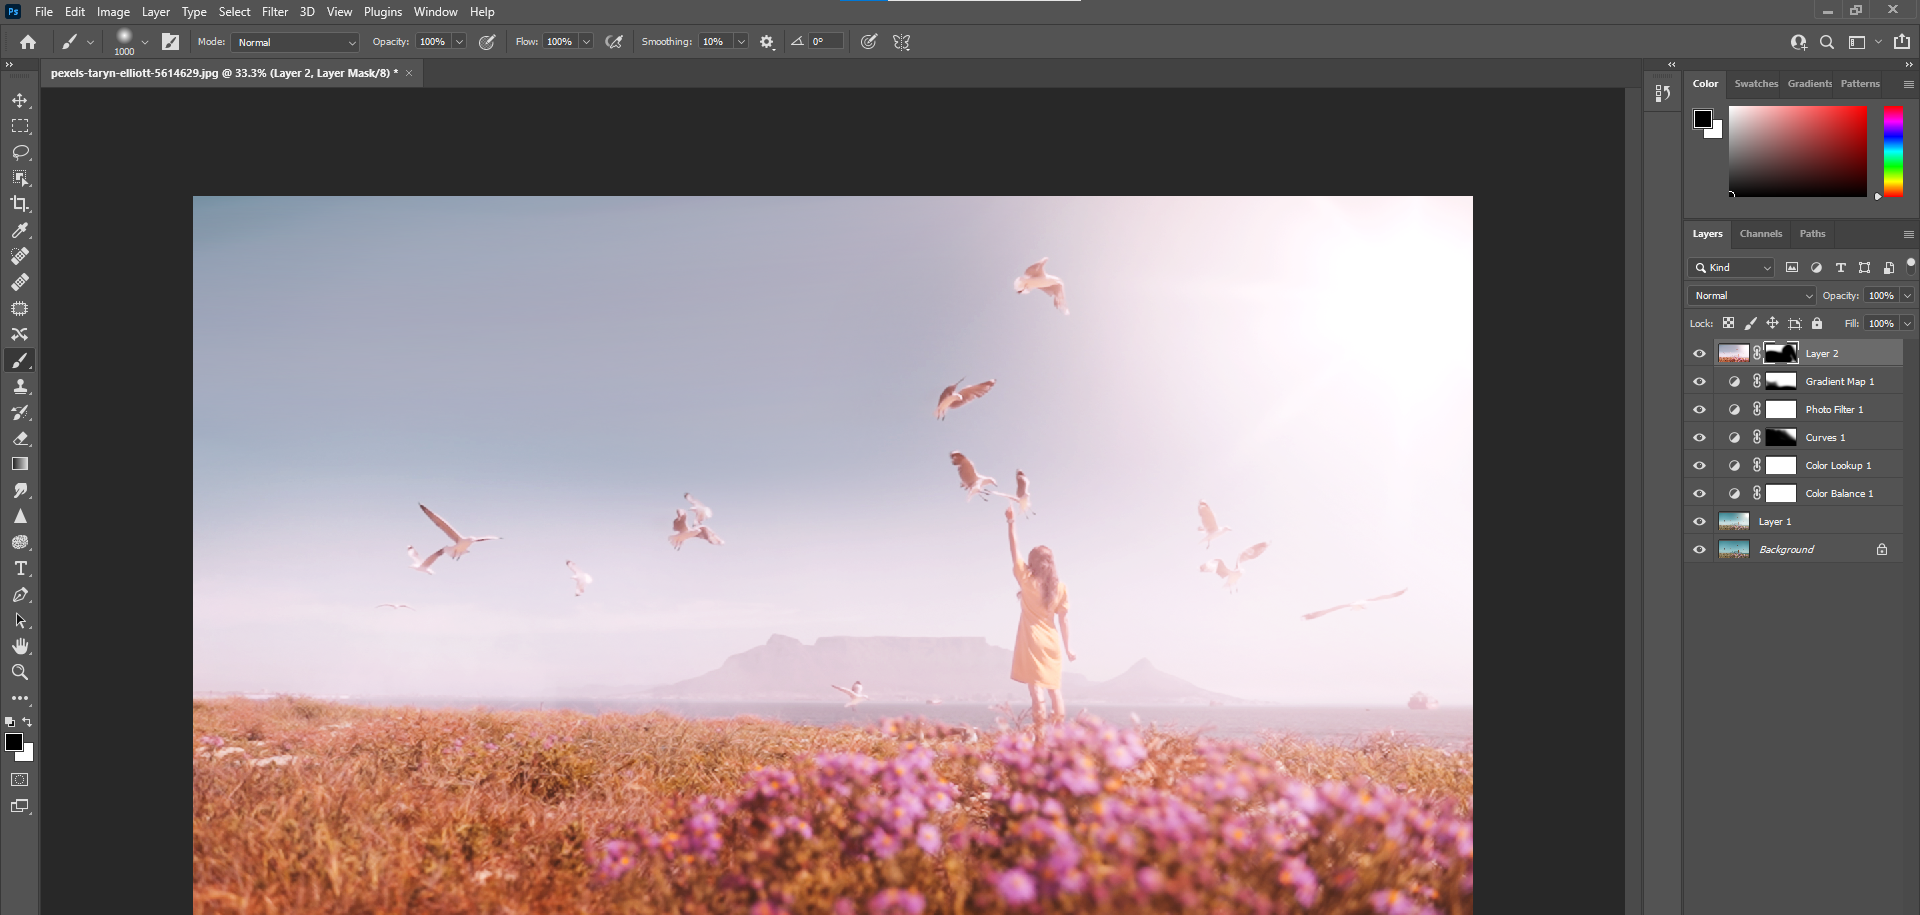
Without going into the finer details, a few simple adjustment layers were added for color correction. We also decided to mask out much of the new sun's outline, leaving just a fuzzy glow with few sunbeams.
The mood is more dreamlike, and the focus remains on the subject and her immediate surroundings. Notice that it doesn't draw much attention to the sunshine added in Luminar AI.
Luminar AI and Photoshop Are Great Photo Editing Companions
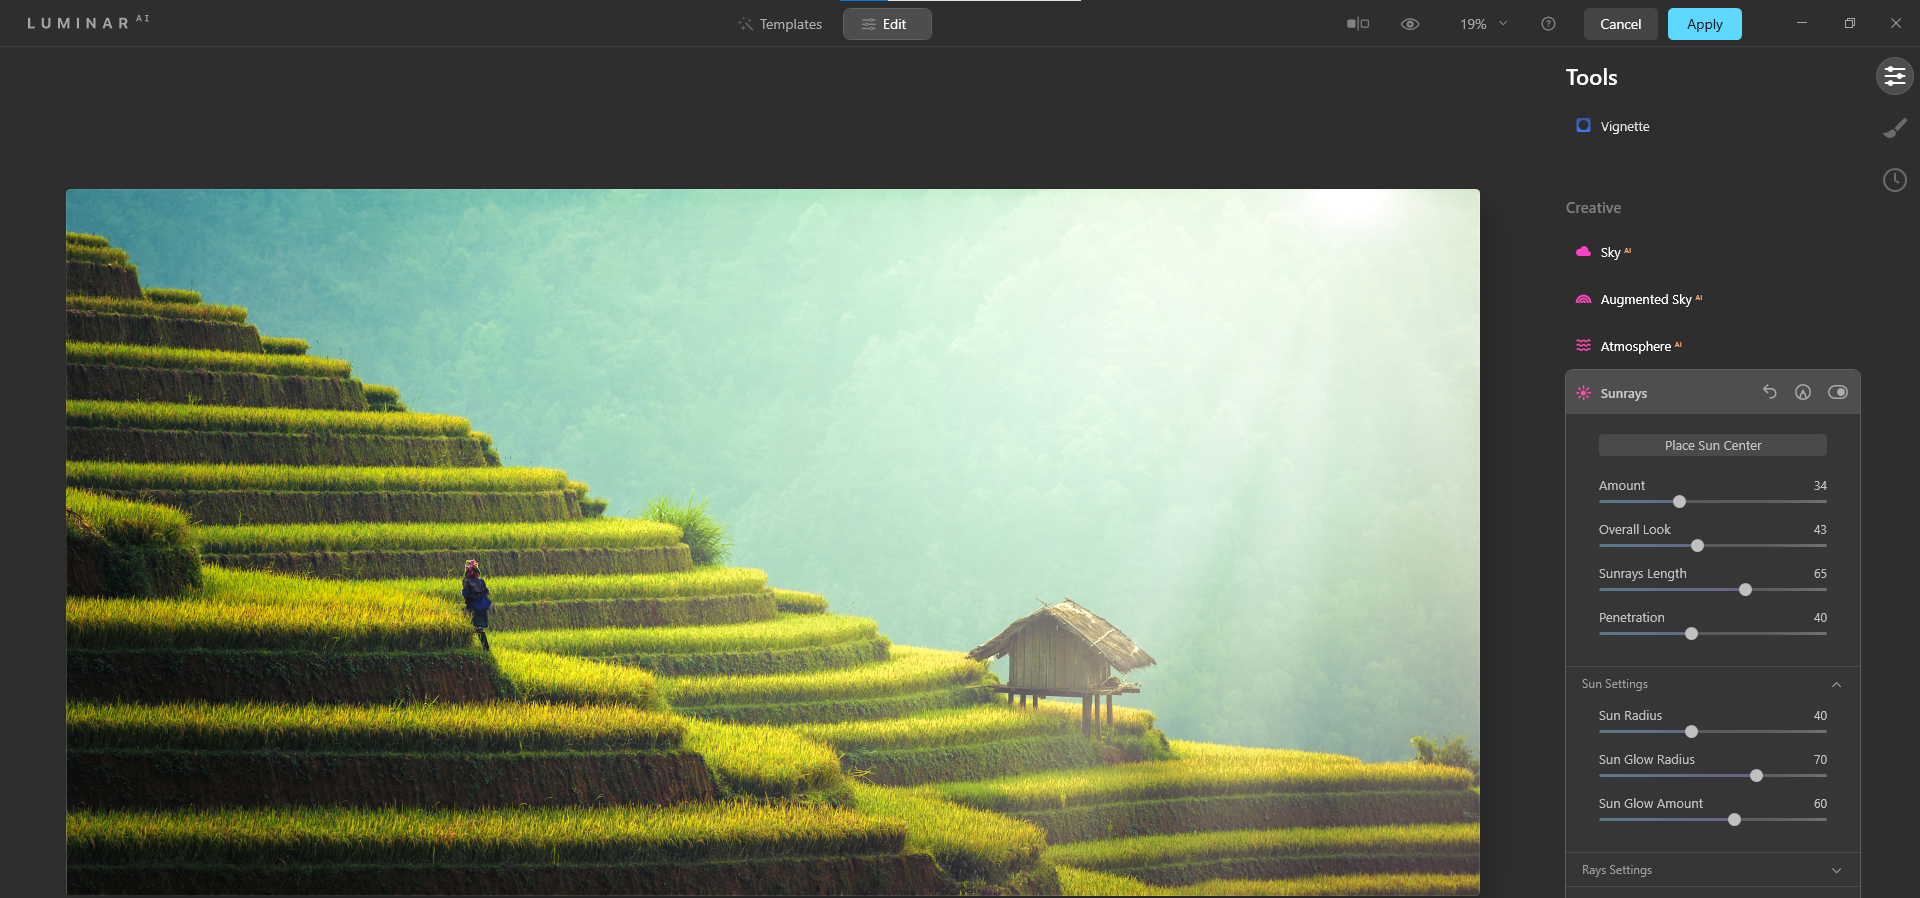
Skylum has traditionally been known as a great option for landscape photographers who regularly have a need to replace skies in their images. As a standalone program, Luminar AI can deliver professional results.
The results can be even better when all-around, powerful programs like Adobe Photoshop are used for applying finishing touches. While Skylum may have more work to do in its AI capabilities, it's clear that AI-based photo editors will lead the industry in the years ahead.
source https://www.makeuseof.com/how-to-create-realistic-sun-effects-luminar-ai/
Post a Comment for "How to Create Realistic Sun Effects Using Luminar AI"
Comment when there are difficulties